

After pricing them...I was a little thrown off. $77 for one artificial flowered headband. GASP! Being the DIY-er that I am...I made my own. If you are not familiar with the floral headband trend...Flash back a few decades to the 60s. Yep those are the ones!
Hey it's cool if "Ke-dollar sign-ha" is doing it, right?

Keep on scrolling if you want to learn how I made my own "tamed down" version for $1! All I purchased were the flowers from Walmart. Everything else I had on hand.

Supplies you will need


Step 1: I started with the ribbon. I measured from one ear to the other and cut. This will be the portion that is used for the flowers.

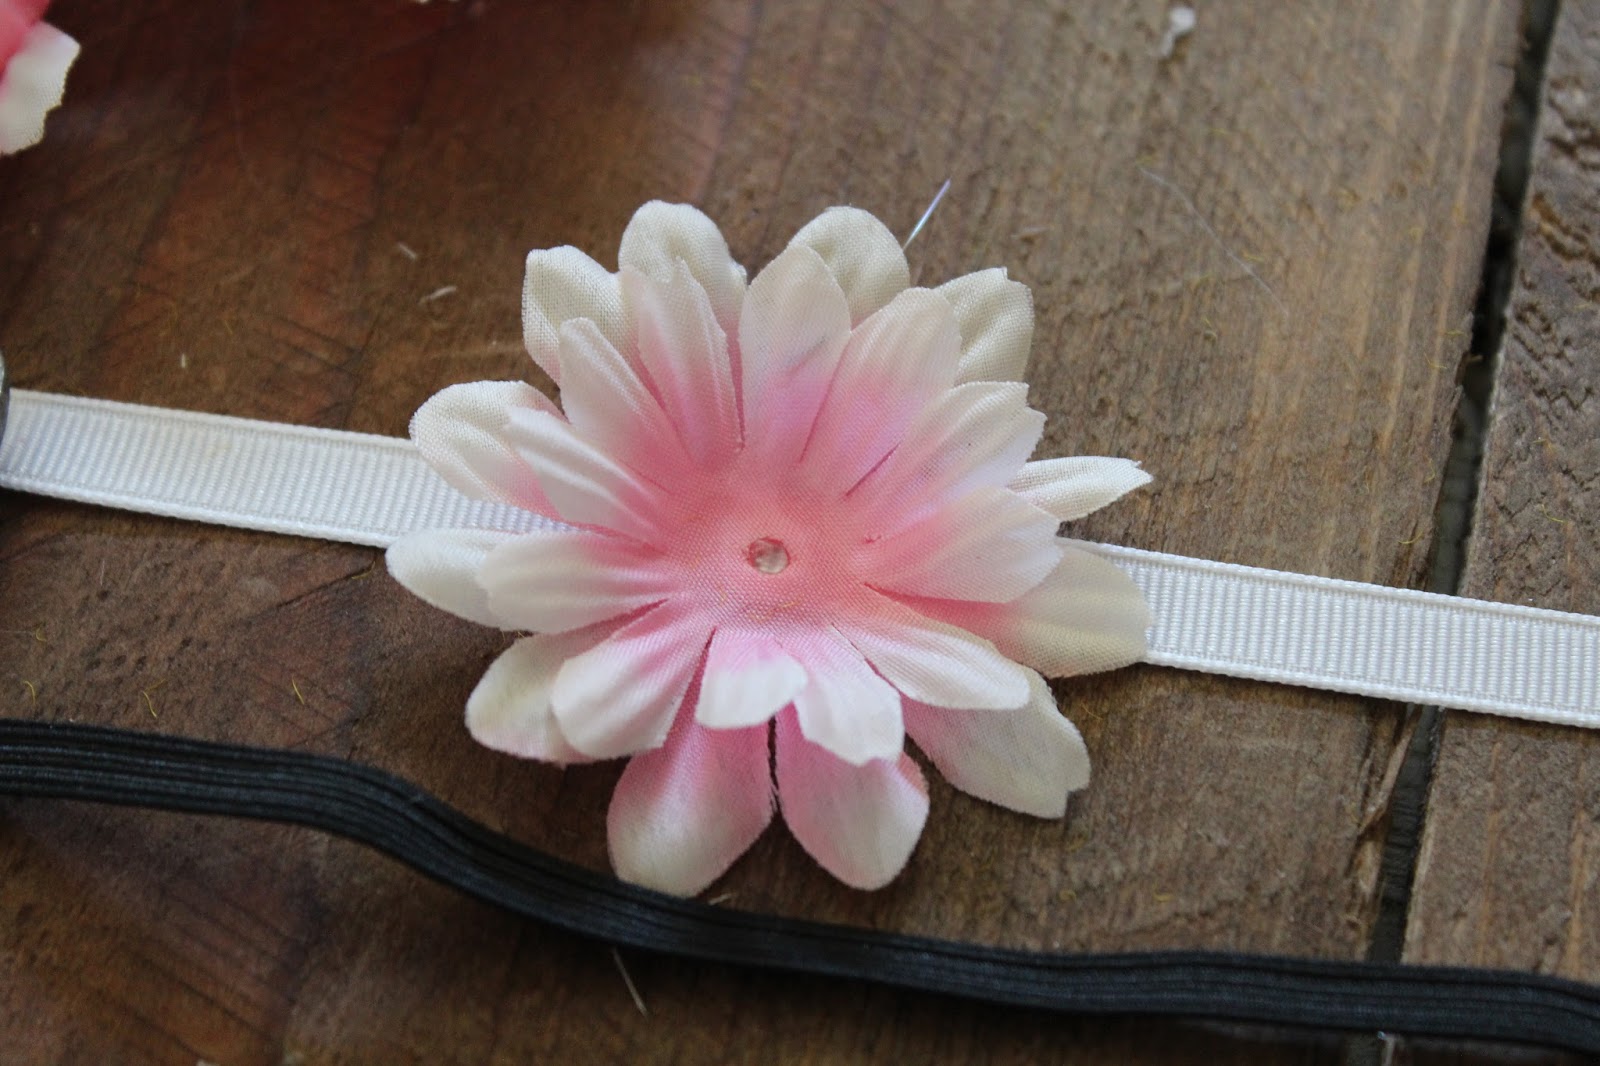
Step 2: I measured out some elastic to attach to the end of my ribbon to form the headband. I didn't want it to be exact length because I wanted it to stretch some.

Step 3: I hot glued the ends together. You can opt to sew them...up to you.


Step 4: Taking a couple small portions of the ribbon I wrapped them around the exposed ends to give it a cleaner look AND added security.


Step 5: Remove all the flower buds from the bushel.


Step 7: Most flowers are put together is layers. (pictured above) if you glue the flower without removing the layers...your flower will eventually fall apart.

Step 8: Glue each layer on the headband. Just a small amount of hot glue is needed in the center of each layer.

Continue this process until you reach the desired amount of flowers you want on your headband.

Finished product!


Go my pretties and be creative. Go crazy like Ke$ha or keep it mellow like myself.
Have fun. Mommas...this would be a fun DIY project with your tween this summer.

No comments:
Post a Comment